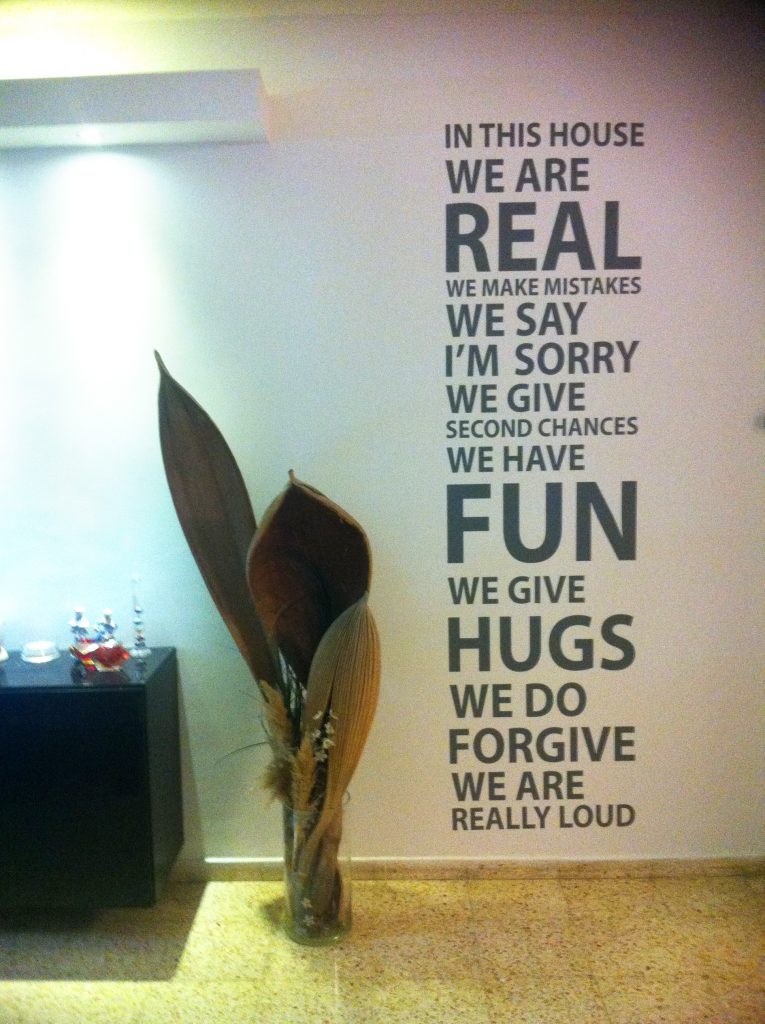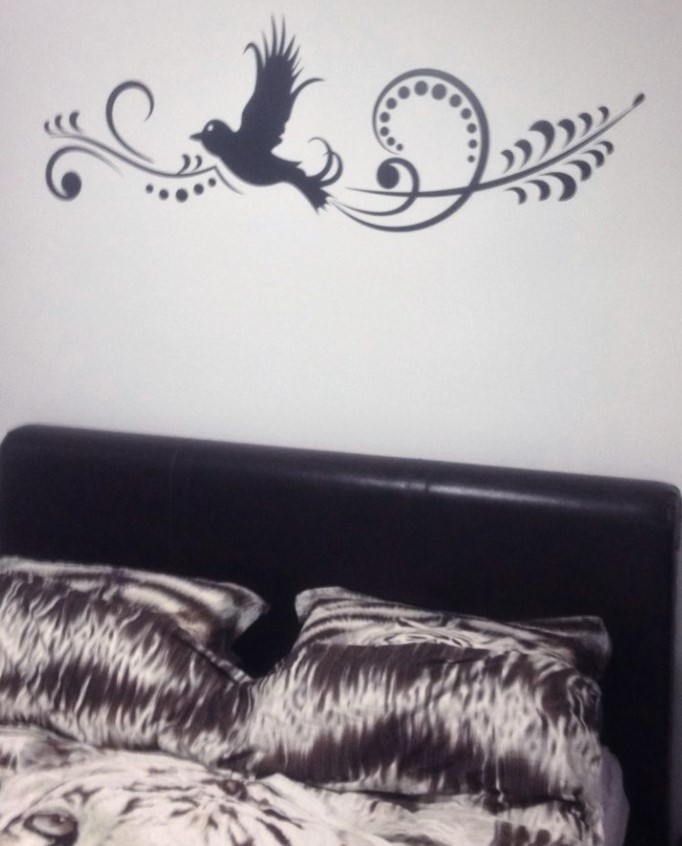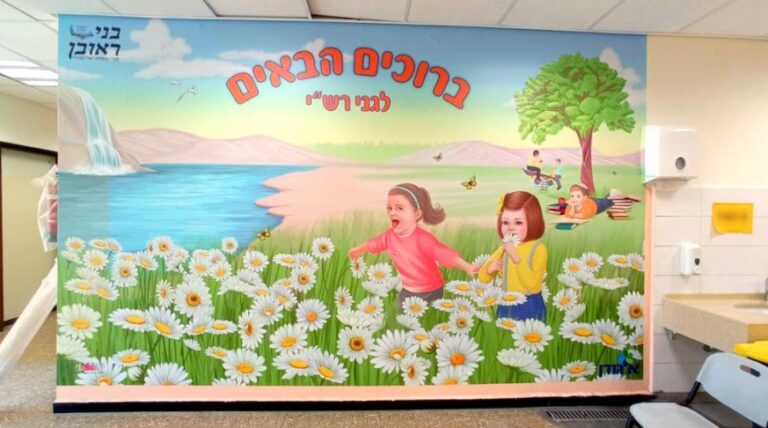

Installing wallpaper looks complicated — but with the right instructions and a little patience, you can do it yourself with a professional result.
What you’ll need
- The wallpaper (made to size — order through our shop)
- Professional wallpaper adhesive
- A silicone smoother (to push out bubbles)
- A sharp utility knife
- A tape measure and pencil
- A level
- Clean microfiber cloths
Step 1: Prep the wall
A clean wall = successful adhesion. Clean the wall of dust, old paint residue, nails and screws. Repair flaws with spackle. Make sure the wall is 100% dry.
Step 2: Cut and prepare
Lay the wallpaper out on a clean surface, measure the wall height in 2-3 places and add an extra 5 cm. Cut the first panel.
Step 3: Apply the adhesive
Prepare the adhesive. Using a foam roller, apply an even layer to the back of the wallpaper. See the full installation guide.
Step 4: Hang the first panel
Press the wallpaper onto the wall. Start from the middle and smooth toward the edges with the smoother. The bubbles come out.
Step 5: Align and join the panels
On the next panel, make sure the pattern lines up. Panels should touch but not overlap.
Step 6: Finishing
Trim the excess at the top and bottom with a utility knife. Wipe with a damp cloth. Let the wallpaper dry for 24 hours.
Troubleshooting common problems
I have air bubbles — how do I get rid of them?
Prick the center of the bubble with a fine needle and smooth it out with the smoother.
The pattern doesn’t line up between panels.
This happens when the wall isn’t straight. You can correct it with a gentle adjustment.
The wallpaper tore during installation.
A small tear at the edge — you can keep going and it will be hidden. A large tear — contact us.
Final tips
- Don’t work alone — two people do a much better job.
- Don’t rush — haste makes waste.
- Good lighting — work in bright light.
- If it’s your first time — consider a large wallpaper with a simple pattern.
If you’d rather have a professional do it — contact us for advice on professional installation.